How to Install Plantation Shutters
Plantation shutters have been a popular choice for window coverings due to their timeless appeal and functional benefits. Whether you're looking to elevate the aesthetic of your home or increase its privacy, knowing how to properly install these shutters is paramount. Let's dive into the process.
Assessing Your Window for Plantation Shutter Installation
Before you embark on the journey of installing plantation shutters, ensuring that they fit perfectly is the first order of business. Proper measurement and assessment are the foundation to a seamless fit:
- Initial Measurement: Using a steel measuring tape, measure the height and width of your window in three places – top, middle and bottom. Record the smallest measurement for accuracy.
- Depth Assessment: Ensure there's enough window recess depth to accommodate the shutter frame and louvres, considering any obstructions like handles or vents.
- Shape and Type: Windows can come in a variety of shapes and styles. Make sure to account for any special features or unique shapes, ensuring you choose shutters that complement them.r
Tools and Materials Required for Installation
A smooth installation process begins with having the right tools and materials at hand. Here's a handy checklist:
- Steel measuring tape
- Pencil or non-permanent marker
- Drill and drill bits
- Screwdriver
- Level
- Shutter panels and frames
- Screws and hinges
The Installation Process: A Step-by-Step Guide
Step 1: Frame Assembly
Begin by assembling the shutter frame, which will house the shutter panels. Ensure all sides are connected securely.
Step 2: Mounting the Frame
Position the frame inside the window recess. Once in place, mark the drill holes. Remove the frame and drill the marked spots. Place the frame back and secure it using screws.
Step 3: Attaching the Shutter Panels
Once the frame is secure, it's time to attach the shutter panels. Attach the hinges to the panels, ensuring they align with the pre-drilled holes in the frame. Fasten the panels securely.
Step 4: Attaching the Tilt Rod
This rod enables the opening and closing of the louvres. Ensure it's attached at a suitable height for easy accessibility.
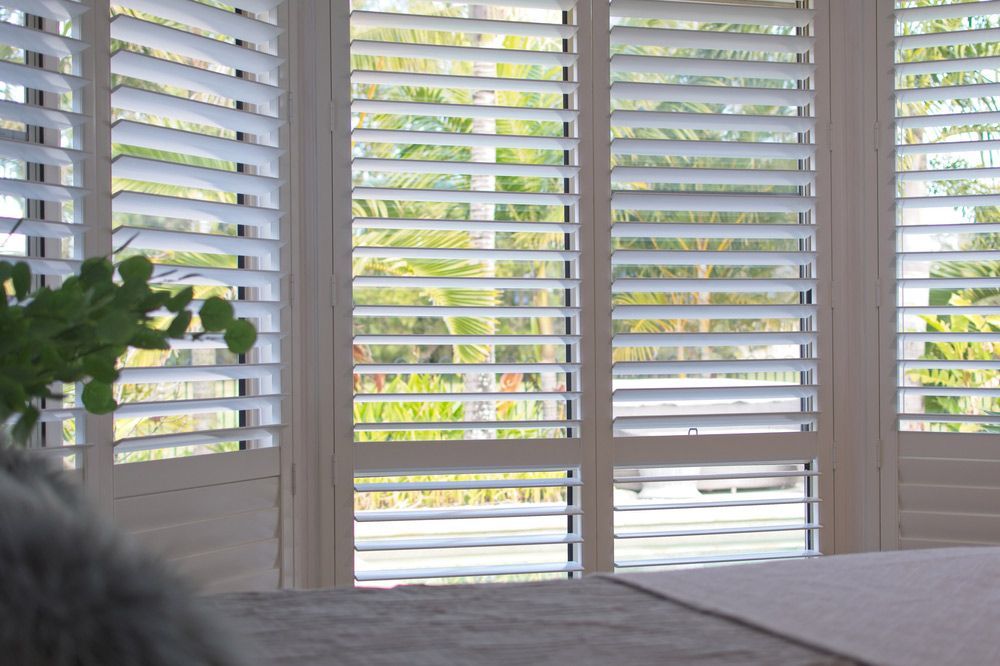
Ensuring Proper Alignment and Functionality
Once you have cleaned all the slats, dry and polish the plantation shutters properly. Here's what you need to do:
- Alignment Check: Ensure the shutters meet in the middle without any gaps.
- Louver Test: Open and close the louvres. They should operate smoothly without obstruction.
- Panel Swing Test: The shutter panels should swing open and close with ease.
Troubleshooting Common Installation Issues
Occasionally, some issues might arise during or after the installation process:
- Issue: Shutter doesn't fit perfectly.
Solution: Double-check measurements. If an error is found, adjustments might be necessary. - Issue: Hinges are too tight or too loose.
Solution: Adjust the hinge tension or replace if necessary. - Issue: Louvres won't remain in a desired position.
Solution: Check for obstructions or adjust the tension of the tilt rod.
Sunstopper Blinds & Awnings: Your Installation Partner
While DIY installation can be a fulfilling project, there's no substitute for the assurance of having professionals handle the job. At Sunstopper Blinds & Awnings, we're dedicated to ensuring that your plantation shutters are installed with precision and care. For those who prefer a hassle-free approach, why not let our team assist you? Reach out to us today for all your shutter needs. Let's make your windows the highlight of your home.
- Monday
- -
- Tuesday
- -
- Wednesday
- -
- Thursday
- -
- Friday
- -
- Saturday
- Closed
- Sunday
- Closed


